Preset Components Settings
You can change the width, depth and height of each Preset Component to suit the space.
You can also show the component on cabinetry plans if required by modifying the Plan Settings option.
How To Use Preset Components
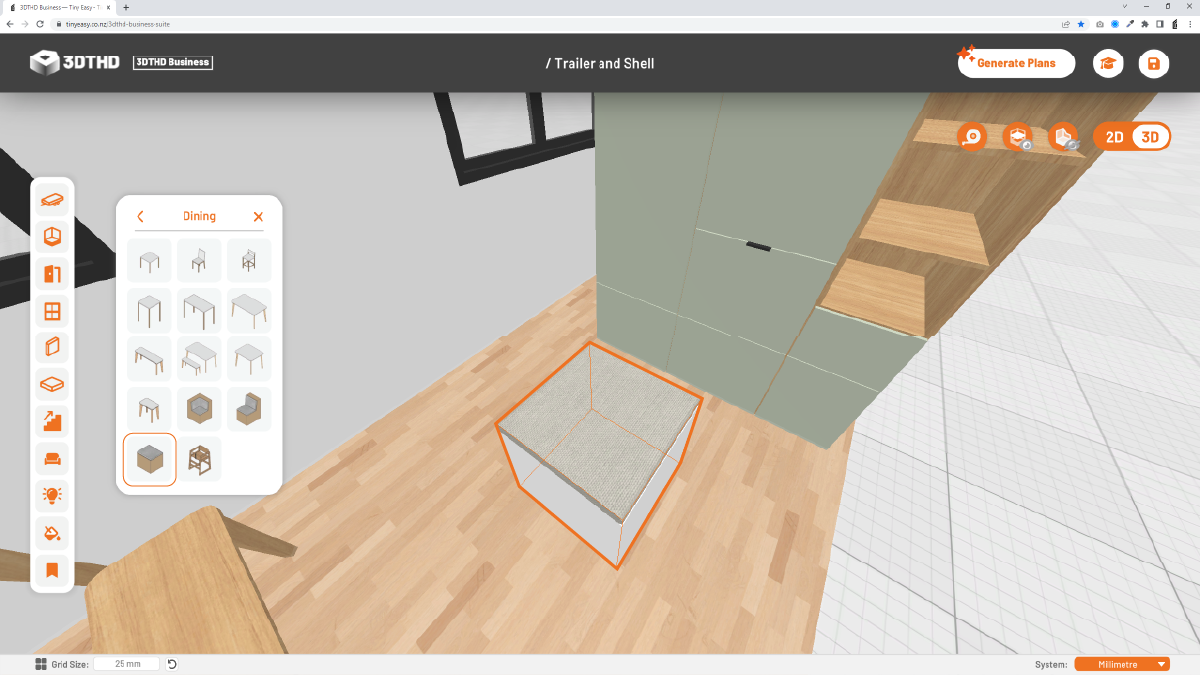
Select a furniture item from either the Dining, Living, Bathroom or Bedroom Categories.
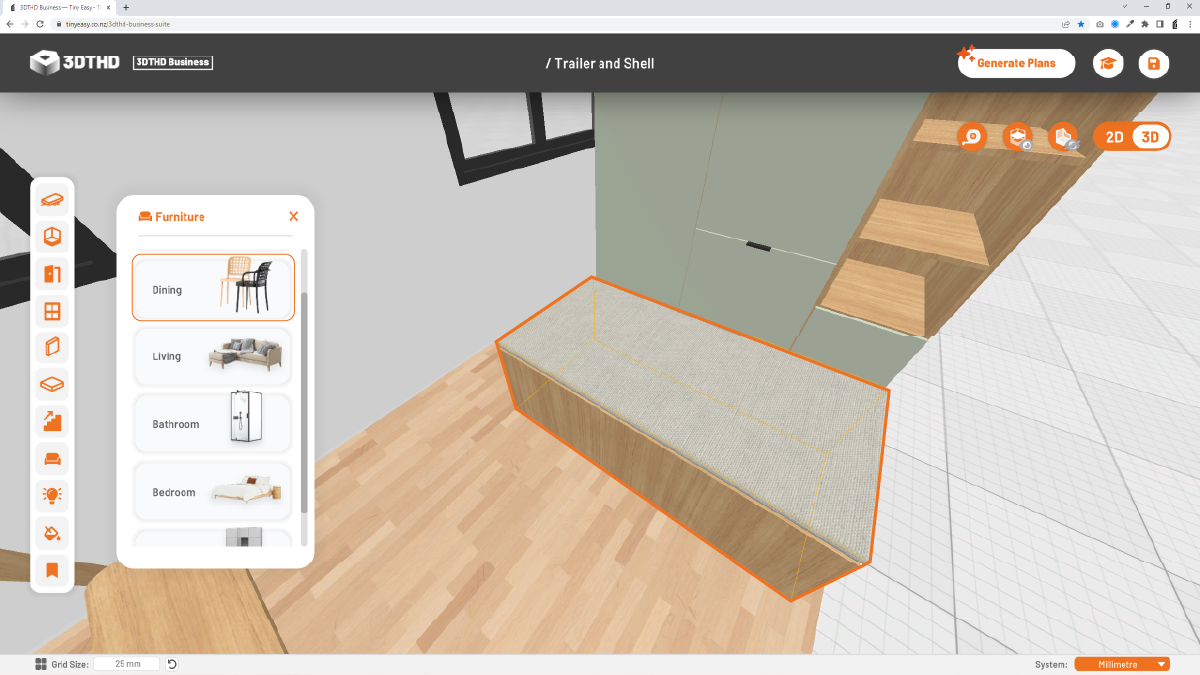
In this example I'm going to use a "Bench Seat Box" which you can find in the Dining Category in the Library Bar.
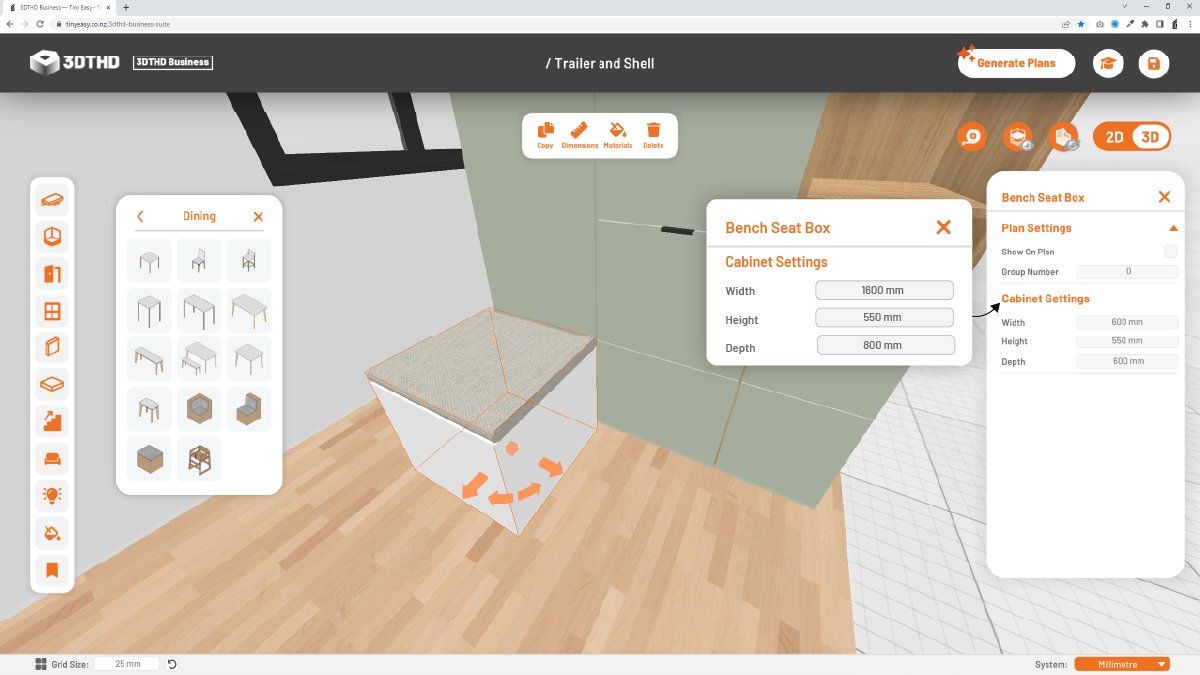
Next, change the width, depth and height of the preset item with these dimensions:
- Width: 1600mm
- Height: 550mm
- Depth: 800mm
Nice! You've just customised a Preset Component! You can modify the materials with the Material Tool. More on this later!

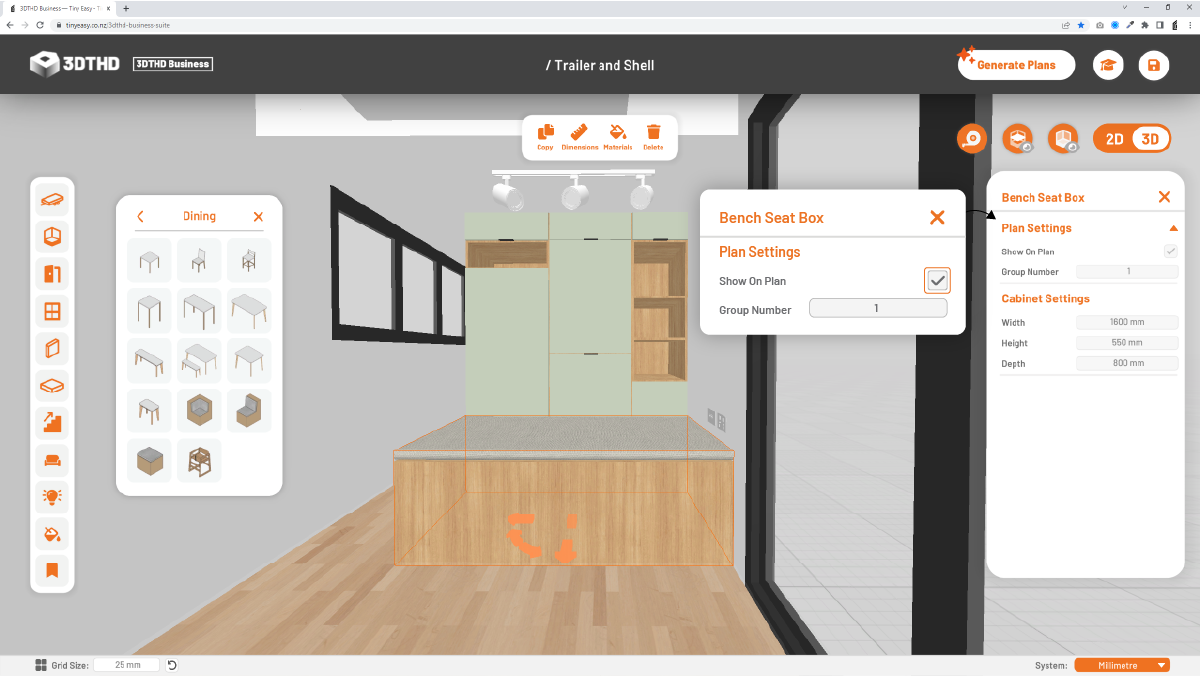
Plan Settings
If you want to show these items on your Cabinetry Plans, just select the checkbox for "Show On Plan" and add a number to your group.
For example if you've placed a dining table with chairs, you will want to checkbox all the items and add them to the same group number.
This makes it easier for you to understand these items are "Group 1"(for example) and "Group 1" is your Dining Component Group.
We go into more detail of how this works in Advanced Cabinetry Settings.